Tips for Repairing Damaged Sod
While laying down fresh sod can be the preferred method of ensuring a beautiful lawn, it is not a guarantee of pristine perfection. Constant maintenance is required after sod installation to keep it watered until its root system is established and to ensure that no fungal diseases become evident.
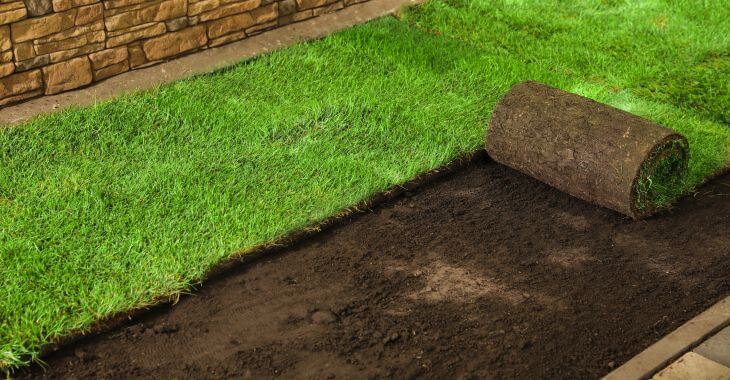
Sod also can become damaged. If the planting site was improperly prepared or the sod was installed incorrectly, it can become damaged as it struggles to establish a root system. Areas receiving high foot traffic can also become damaged. Not only are damaged areas unattractive but they also become a breeding environment for weed growth. How you would repair these areas depends largely on where they are located.
Damaged sod in areas that are relatively unused can be repaired with grass seed. Cut out and remove the damaged sod; break up the bare area to loosen compacted soil; spread a grass seed and compost mixture over the area, and keep that area moist so the seeds will germinate. As for damaged sod in high traffic areas, it should be repaired with sod. Again, cut out and remove the damaged sod; spread a starter fertilizer that is high in phosphorous over the bare area; water the area and new piece of sod cut to fit, and pat down. Make sure that the sod stays moist for about two weeks.
Your sod will look better if you have your local landscaping professional install it for you. They may also have a connection to purchasing the best sod at an affordable rate. You could possibly reduce your installation fee by performing some of the physical labor yourself. The cost of seed, sod and installation will vary according to your location and the current market. Sod grows well in all climates.
Posted on behalf of Dusty Edinger, Tommy Gun Lawn Care