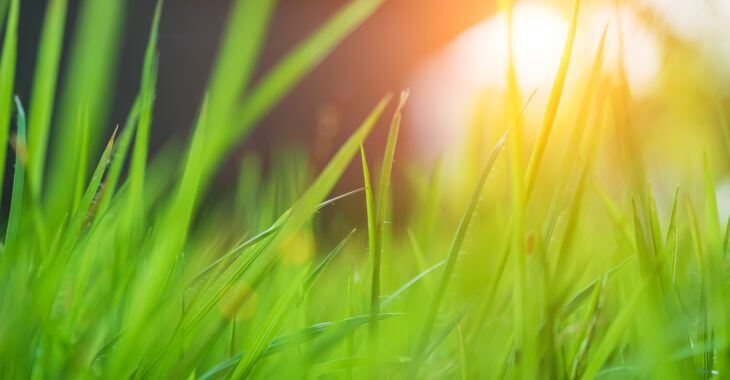
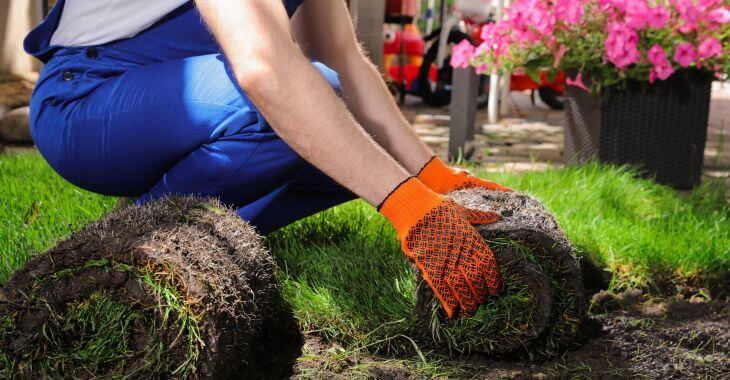
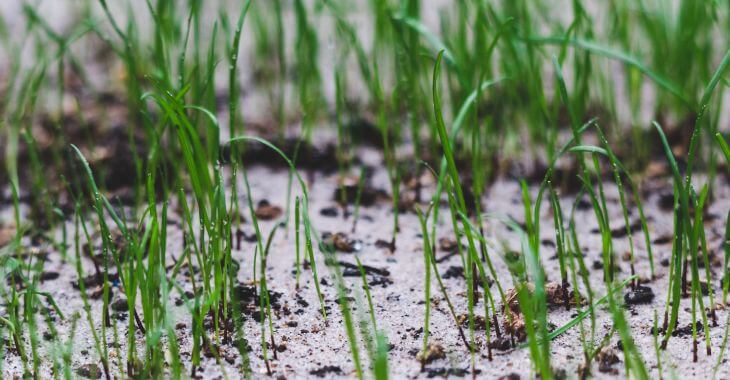
A professionally installed irrigation sprinkler system can do wonders for your landscaping including your lawn, flower beds, shrubs, and any plants that need regular watering. No longer do you have drag out the hose, set up the sprinkler, remember to turn on and off the water, and mover the sprinkler around the yard. A properly designed irrigation system evenly waters your yard on the schedule you set and takes care of your flowers, trees, shrubs and other plants.
The only thing your irrigation system can’t do is think for itself. You have to tell it what to water and when. Scheduling your irrigation system is a very important task because improper scheduling can cause damage to your landscaping. Just as too little water can cause your landscaping to wither and die, too much water can contribute to diseases and root rot.
The first thing you need to determine is the water needs of your lawn and each type of plant or shrub. Some plants need a lot of water and do best in wet soils. Others need less frequent watering. Your landscaping professional should be able to help you with this.
Once you have identified how much water is needed, you can schedule your irrigation system. Keep in mind that you still need to pay attention to the weather and adjust the schedule as needed throughout the season to avoid overwatering. Not only does overwatering waste water, as previously mentioned it can actually do harm to your landscaping.
How many times have you noticed someone’s irrigation sprinkler system merrily watering their lawn right after a few days of heavy rain? Or worse, while its still raining? Not only are these homeowners wasting money on their water bills, they may also actually be doing harm to their landscaping. Too much water can make grasses and plants more susceptible to disease and overwatering can drown some plants.
An sprinkler irrigation system is a wonderful way to help keep your landscaping looking great, but it has to be used properly for the best results. That means scheduling the irrigation system timer so that it delivers enough water, but not too much. The problem is that the amount of water needed changes throughout the year due to seasonal weather changes and you need to frequently adjust your sprinkler system’s scheduling based on the current weather conditions.
A smart controller can help take care of adjusting your irrigations system’s scheduling. A smart controlled uses weather information obtained from various inputs to adjust your irrigation system’s watering schedule to eliminate over-watering and under-watering your landscape. This weather information can include actual local rainfall and other information obtained from the system’s rain gauge and other instruments, weather information obtained from the internet, moisture sensors, and other sources.
Some smart controllers are relatively simple and others are very sophisticated and take into account the nature and type of soil, slope of the yard and other factors. Smart controllers can be customized for different zones of the landscaping to take into account different soil conditions and plant watering needs.
Irrigation sprinkler systems are a great way to keep your lawn and landscaping looking fantastic, but unless you have a free source of water, they can really add to your water bill. There are many ways you can help your irrigation system use less water while still doing an excellent job of watering your landscaping.
Be aware of the weather conditions in your area. You don’t need nearly as much water during wet, rainy conditions. In fact, you can actually do damage to your lawn, shrubs, flowers, and other plants by overwatering. If your irrigation system is on a timer, be sure to adjust the schedule to take the current weather conditions into account. Better yet, have a smart controller installed that automatically adjusts your watering schedule based on local weather conditions.
Schedule your irrigation system to water in the morning. Less moisture will be lost to evaporation and the lawn will not remain damp for an extended period of time. You shouldn’t water in the evening for this exact reason. A lawn that stays damp all night is susceptible to disease.
Consider switching to a drip type irrigation system for plants and shrubs. Drip type systems are more efficient than sprinklers because much less water is lost due to evaporation.
Inspect your sprinkler system for damaged sprinkler heads, uneven spray patterns, or spray that’s blocked by grass, shrubbery, or other obstructions. Grass and shrubs that have grown over the years can block the spray and sprinkler heads can become partially clogged with mineral deposits.
Finally, check the system for leaks. If there is a soft or soggy spot in the yard that never seems to dry out, you may have a leak in your irrigation system. Have the irrigation system repaired by your landscaping professional.
If you have an irrigation system on a timer, you should be aware that you should adjust the watering schedule to take current weather conditions into account. You don’t want to over-water by letting the system water the yard during periods of wet, rainy weather. If you are at home every day, you can simply change the watering schedule as needed, but about when you are out of town for a few days or weeks? Your sprinkler system will water the yard and landscaping whether it’s raining or not. What a waste of water and money!
One way to address this issue is to install a smart controller that automatically adjusts the watering schedule based on local weather conditions. However, a smart controller can be expensive to install. Another less expensive option that can get the job done is a rain shutoff device or rain sensor.
A rain shutoff device will sense when it’s raining and turn off the irrigation system. They can usually be adjusted to turn the system off after a certain amount of rain has fallen. After the sensor dries out, the system will be reactivated and resume normal operation.
A rain sensor does not replace properly programing your watering schedule. You still need to monitor the weather conditions and program your irrigation system properly. Once your system is set up, the rain monitor will minimize the management work and help avoid over-watering if it rains while you are at work or away from home for a few days.
Outdoor fireplaces add beauty to any home and provide a focal point for outdoor entertaining. An outdoor fireplace requires relatively little maintenance, but one area that needs occasional attention is the mortar. If the mortar between the stones or bricks begins to crumble, crack or fall out of the joints in pieces, it needs to be repaired.
Repairing crumbled mortar is referred to as tuckpointing. The cracked and crumbling mortar is removed using a chisel or a grinder and the joint is cleaned. Then, fresh mortar is pressed or “tucked” into the joint. Keeping the mortar in good shape is important because it keeps moisture out of structure. If water gets into the damaged joint or crack, it can speed up the deterioration process, especially in areas of freezing weather.
Applying the mortar to the joint can be accomplished either using a mortar bag similar to a pastry bag or by “sweeping” a small amount of mixed mortar off of a trowel with a tuckpointing tool. In either event, the object is to firmly pack the joint with fresh mortar. It is a job that looks easier than it is and unless you have the tools and some experience handling mortar, it’s a job best left to an experienced landscaper or mason.
Be sure to inspect the inside of the firebox as well as the exterior of the outdoor fireplace. The firebox is usually lined with fire resistant brick and replacing crumbled mortar is done the same way as tuckpointing the outside brick or stone structure except that special heat resistant mortar called “refractory” mortar should be used. This mortar can withstand higher temperatures than ordinary mortar so it is less affected by expansion and contraction associated with the heating and cooling of the inside of the fireplace.
If you live anywhere that may experience a hard freeze, you can save yourself some expensive repairs by winterizing your irrigation sprinkler system. Water in the lines can freeze and burst the pipes. Water expands as it freezes and this expansion is what causes burst water lines. Unlike your household water supply line, irrigation lines are not buried very deep underground and some parts are fully exposed to the outside air making them susceptible to freezing.
Most irrigation systems are made from PVC or Polyethylene pipe, both of which will crack easily from the force of frozen water. Water left inside these pipes during the winter could easily freeze and crack the pipe. In the spring, you will find these cracked and broken lines as soon as you use your irrigation sprinkler system and you will need to call the irrigation company out to fix the broken lines.
Save yourself some trouble and money by making sure to have your irrigation system winterized. The easiest way to winterize your irrigation system is to pay your irrigation company to do it. They have the knowledge and experience to get it done right. Your landscaper or lawn care professional may also have some experience with winterizing irrigation sprinkle systems.
You may be able to winterize your sprinkler system yourself, but if you are not sure how to do it, you are better off letting an expert handle the job. It is easy to leave some water in one or more of the lines and the result will be a broken line that must be fixed come spring.
If there is any chance that your area will see freezing temperatures, it is imperative that you winterize your irrigation sprinkler system by draining all of the water out of the pipes. If the water in these pipes freezes, it will expand as it freezes and crack the pipe. In the spring, you will have a yard full of leaky irrigation sprinkler pipes needing expensive repairs.
You irrigation sprinkler company, lawn care professional or a landscaper that handles irrigation sprinkler installation and repairs will all be able to take care of winterizing your irrigation sprinkler system. Draining the system sounds easy, but don’t try to do it yourself unless you are confident that you know how your system works and the proper way to drain it. If you miss any water, it will freeze and crack the pipe.
Winterizing your irrigation sprinkler system by draining all of the water out of the system. First, turn off the water supply to the system. Find the main water supply line shutoff valve and turn the water off. This valve may be in a box buried underground, inside your home, or above ground outside your home but wrapped with insulating material to prevent the valve from freezing.
Next, turn off the automatic sprinkler control if you have one. Most systems have automatic controllers to relieve the homeowner from having to remember to turn the system on and off and also to activate the system at the most opportune times for lawn and garden irrigation which may be when the homeowner is at work or sleeping.
Finally, drain the system by opening the manual drain valves or by using compressed air to blow the water out of the system. Which method you use depends on how your system is set up. When in doubt, call your irrigation sprinkler company.
As winter approaches, many homeowners are looking forward to taking a break from yard work. Before you put that mower up for the winter, take the time for some lawn care and maintenance to get your yard ready for the winter months. In the spring, you’ll have a healthier, more beautiful lawn.
For the last couple mowings of the season, cut the grass a little shorter than normal. This will help keep the yard from retaining moisture and allow air and sunlight to reach a little further into the lawn. If you don’t already do so, leave the clippings on the yard. They will provide the soil with nutrients throughout the winter.
Fall is a good time to have the lawn dethatched and aerated. Dethatching removes the layer of dead grass, clippings, leaves and other material that have accumulated at the base of the lawn. Removing this material allows air to circulate and water to reach the soil. Aerating helps prevent soil compaction and allows nutrients to seep deeply into the soil promoting healthy root growth.
Rake leaves as soon as they fall keep raking them up throughout the winter. A layer of wet leaves left on the yard will kill the grass and you will have to start all over in the spring. Keep those leaves raked up.
Fall is a good time for an overseeding. Spread the grass seed before the weather turns too cold to allow the seeds to germinate and become established. If cold weather sets in too quickly, the seed will germinate as soon as it warms up in the spring.
By doing a little work in the fall, your yard will look great when warm spring weather arrives!
Winterizing your northern lawn in the fall is the key to a lush, beautiful lawn in the spring. You want the lawn to be ready to go as soon as the weather warms up in the spring and the time to get it ready is in the fall before cold weather sets in.
In the fall, apply a winterizing fertilizer that is high in potassium to stimulate healthy root growth. This will help keep the lawn healthy through the winter and get it ready to start growing as soon as temperatures rise in the spring. Be careful not to fertilize too late in the season. You might encourage the lawn to keep growing into early winter leaving it susceptible to damage due to freezing weather.
Lower the mower height by about half an inch to an inch for the last mowings of the season to avoid matting. Rake leaves as soon as they fall. You don’t want to leave the lawn buried under a layer of wet leaves covered with snow all winter. By the time the snow melts off, the wet leaf layer will have smothered the grass.
Fall is a good time to aerate and dethatch the yard. Soil becomes compacted over the summer from use and a thorough aerating it now loosens up the soil and gives water and nutrients time to seep into the soil before freezing weather sets in. Core aeration is the preferred way to aerate your lawn. Dethatching the lawn removes the layer of dead grass, old clipping, and other debris that has accumulated during the summer. It allows air and water to reach the soil and helps prevent moisture from accumulating at the base of the lawn which can promote lawn diseases.
With a little work in the fall, your lawn will be ready for a full growing season when spring arrives.
As winter winds down, now is the time to start thinking about getting a great looking lawn for this year. An excellent alternative is to call your local lawn care service and let them take care of it. If you are going to use a lawn maintenance and mowing service, it’s a good idea to have them start in the late winter or early spring. Most lawn care programs have a maintenance schedule that builds upon itself and the best results are achieved by following that schedule throughout the year.
If you are going to tackle your own lawn care this year, spring is the time to lay a good foundation for the rest of the year. The first thing you need to do is give the yard a good raking. This will get rid of any leaves that fell after fall raking and any other debris that has landed on the lawn during the winter. It will also help remove some thatch and allow air and light to penetrate into the lawn.
Then next step is to adjust the ph of your yard. Take a few soil samples from various locations throughout the yard and have them tested by your county extension agent. Apply lime as needed to bring the ph to the proper level. Your extension agent will be able to tell you how much lime to apply.
After adjusting the ph, you should apply a spring fertilizer that is right for your type of lawn. Your lawn and garden center can help you choose a good spring fertilizer. Finally, apply a pre-emergent herbicide to control crabgrass. These will also be available at your local lawn and garden center. Now your yard is ready for the growing season!